 |
| Cranking It Up The Driveway |
Once in the garage it sat for a long time since it was a pain to work on when on the ground and I didn't have anywhere to place it up high.
 |
| Storage spot. Notice the ATC sticking out on top. |
Eventually, I got around to designing a small stand, and conned convinced some friends to help me weld it up. The stand was put together from 1.5" x 0.065 and 0.75" x 0.035 square tubing with a MDF top. Small, but sturdy enough. I used vibration isolating feet on the bottom, which ended up being a little softer (read: wobbly) than I had planned, even though they are rated to 300 lbs each. It was originally designed to be skinned with sheet metal, with doors in the front, a tray on the bottom for computer and coolant system, and a pull out keyboard tray. Since buying sheet metal would have tripled the cost of the project, it's open air for the time being. The stand:
 |
| Stand Skeleton |
On the rare chance some has the same mill and needs some plans for a stand, drop me a line.
And after some fun with a rented engine hoist (bigger than the typical HF ones), it has finally come to rest at it's new home.
 |
| Final resting place. |
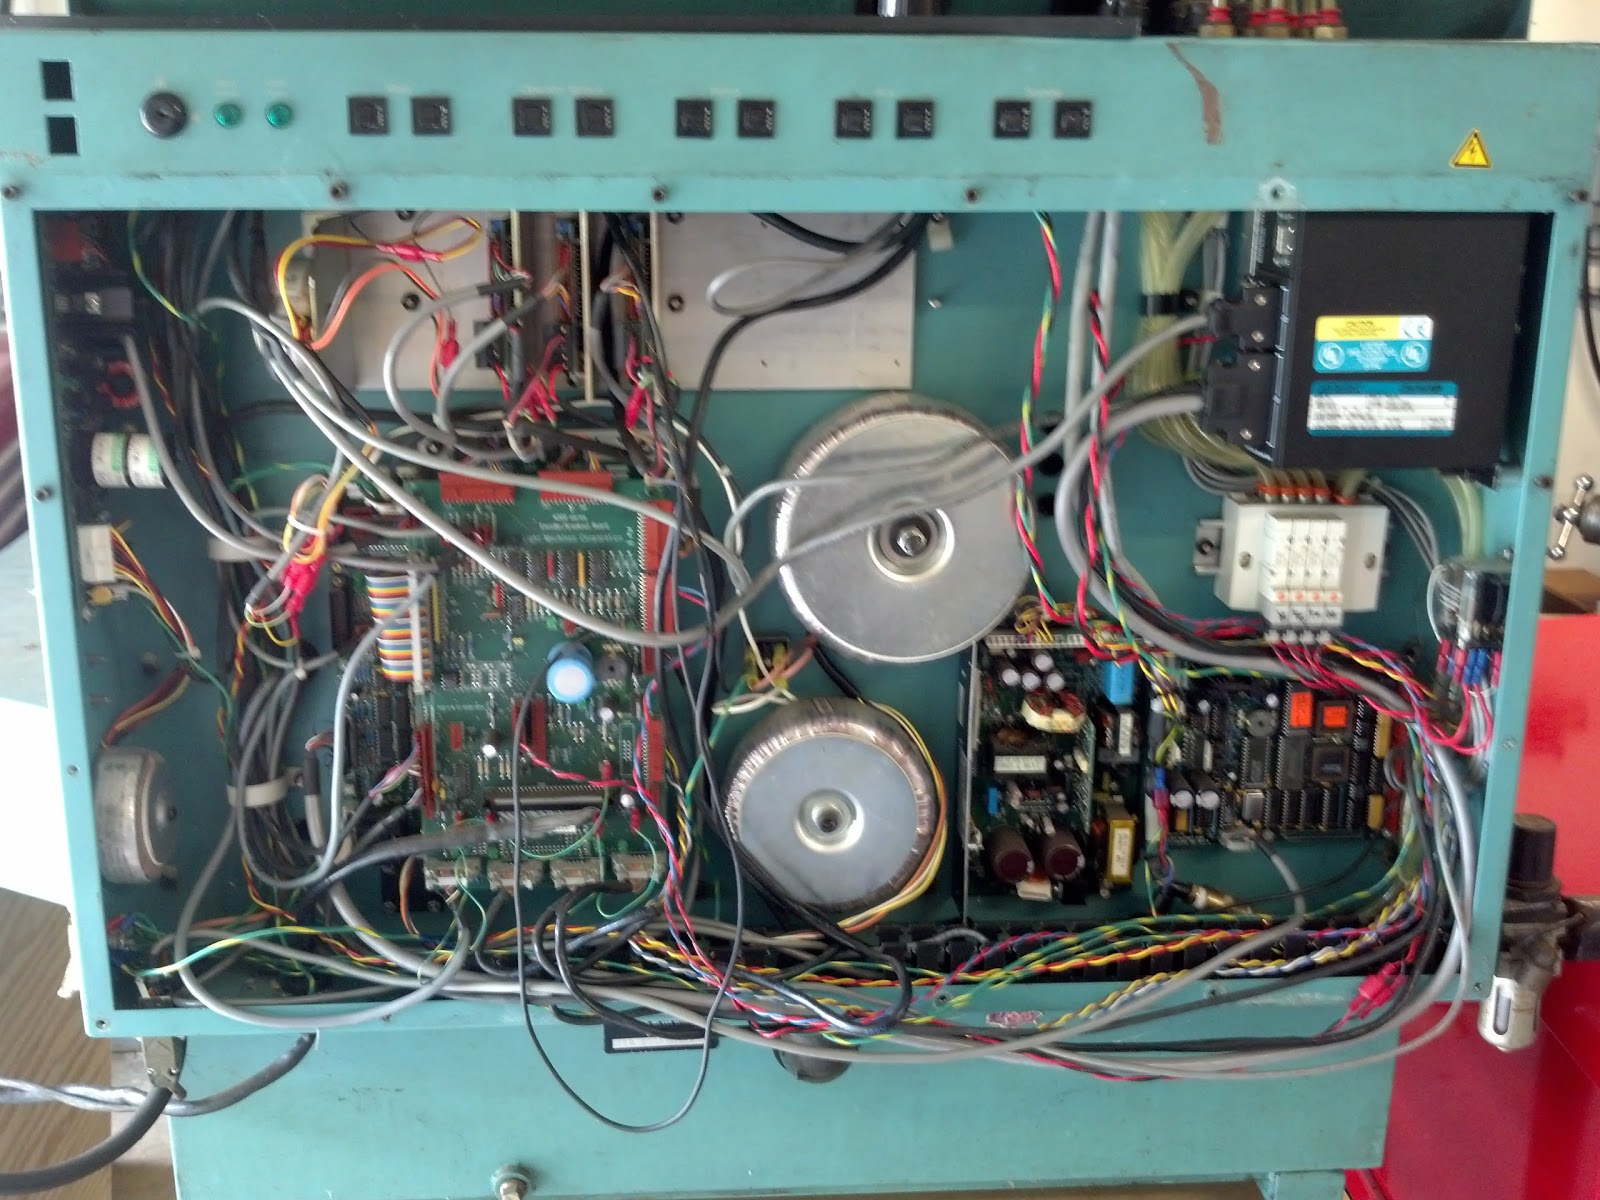
Now on to cleanup and rewiring. A teaser:
 |
| Now on to the real fun... |
No comments:
Post a Comment